
MetaMask is a self-hosted wallet to store, send and receive ETH and ERC20 tokens, including our Make Your Mark Community Access NFT.
Step 1: Install the Chrome Extension
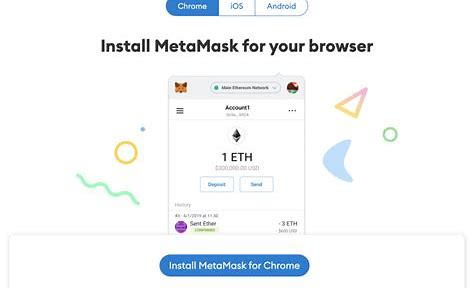
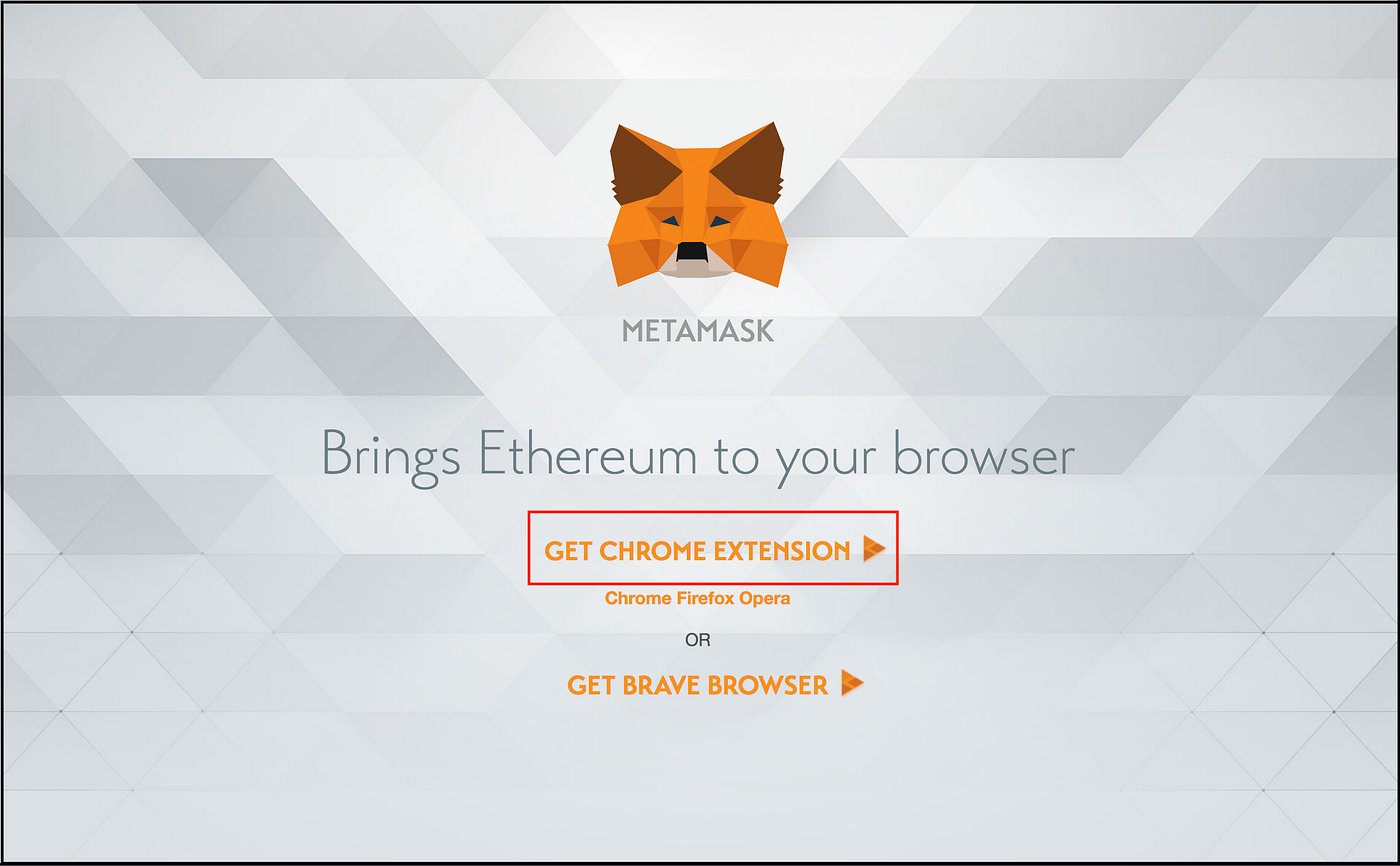
Visit https://metamask.io/ to get the Chrome extension. There are also options for Firefox and Brave browsers available.
On the home page, click “Get Chrome Extension”.
After being directed to the MetaMask page on the Chrome web store, click “Add to Chrome”.

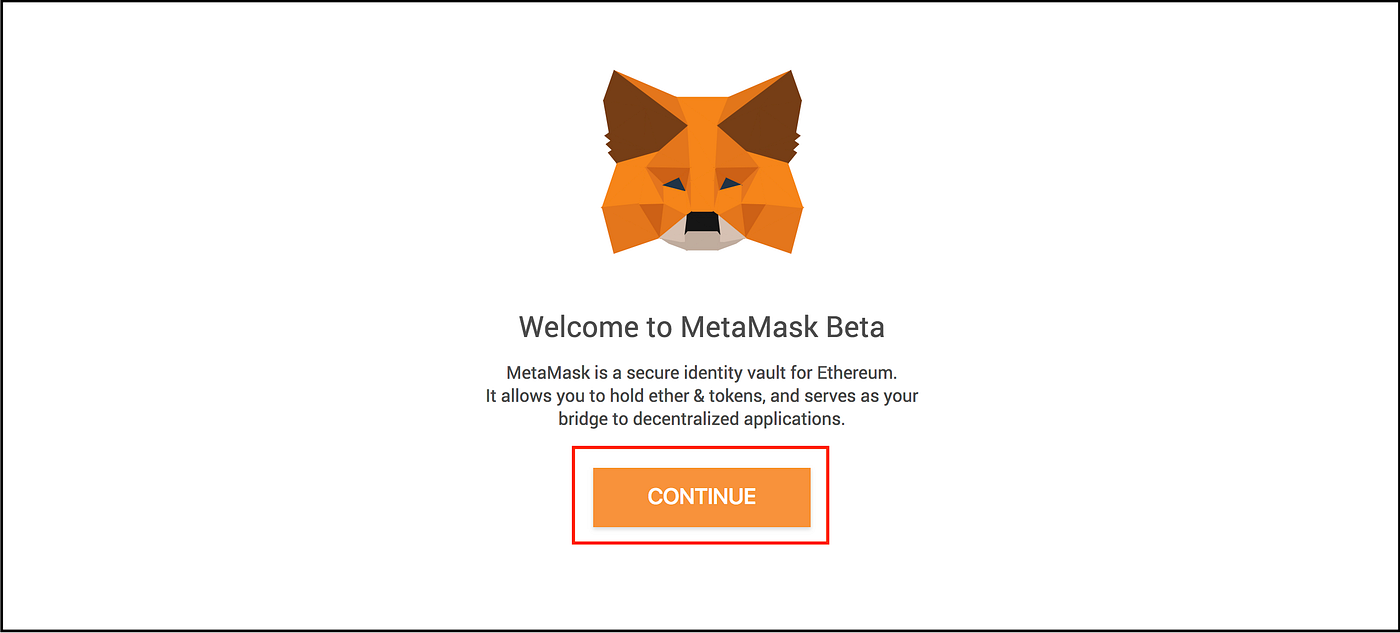
A new version of MetaMask with enhanced features and user interface was recently launched. Click “Continue” to proceed.
Step 2: Create your MetaMask account
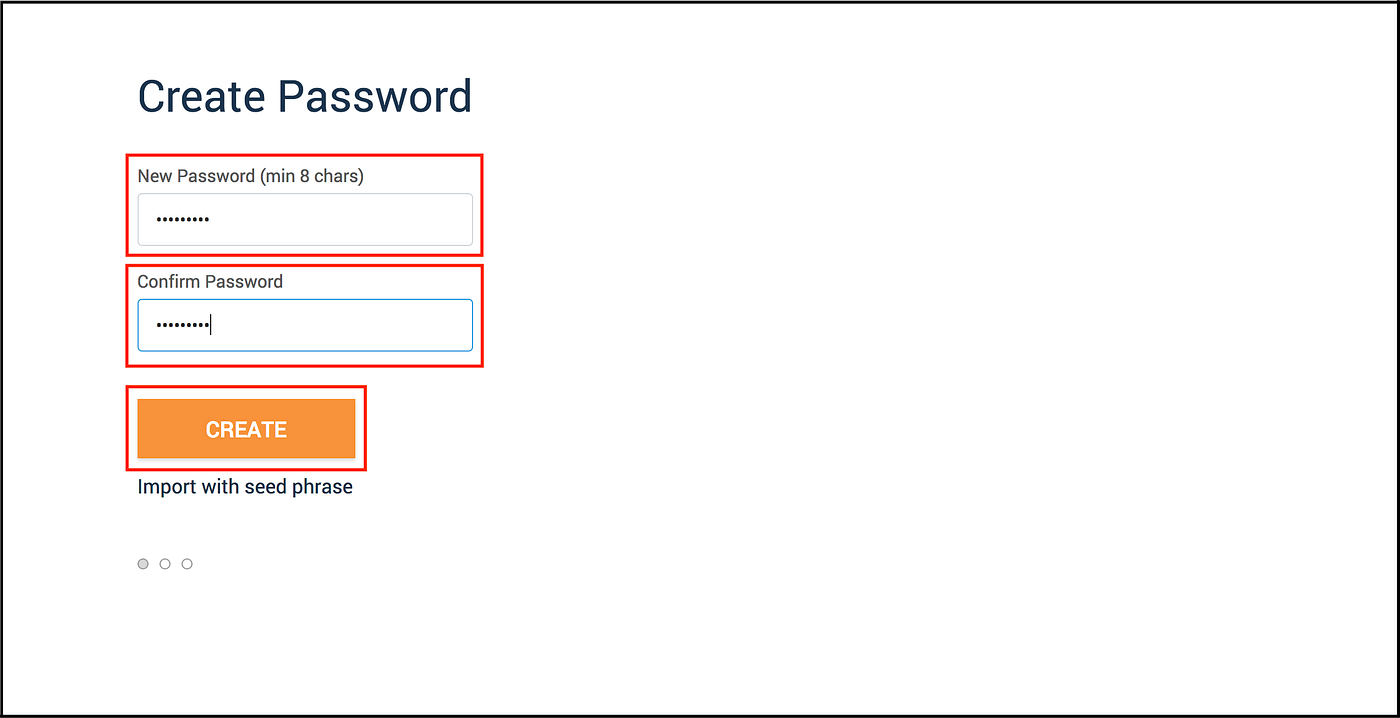
Create a strong password to set up your MetaMask account.
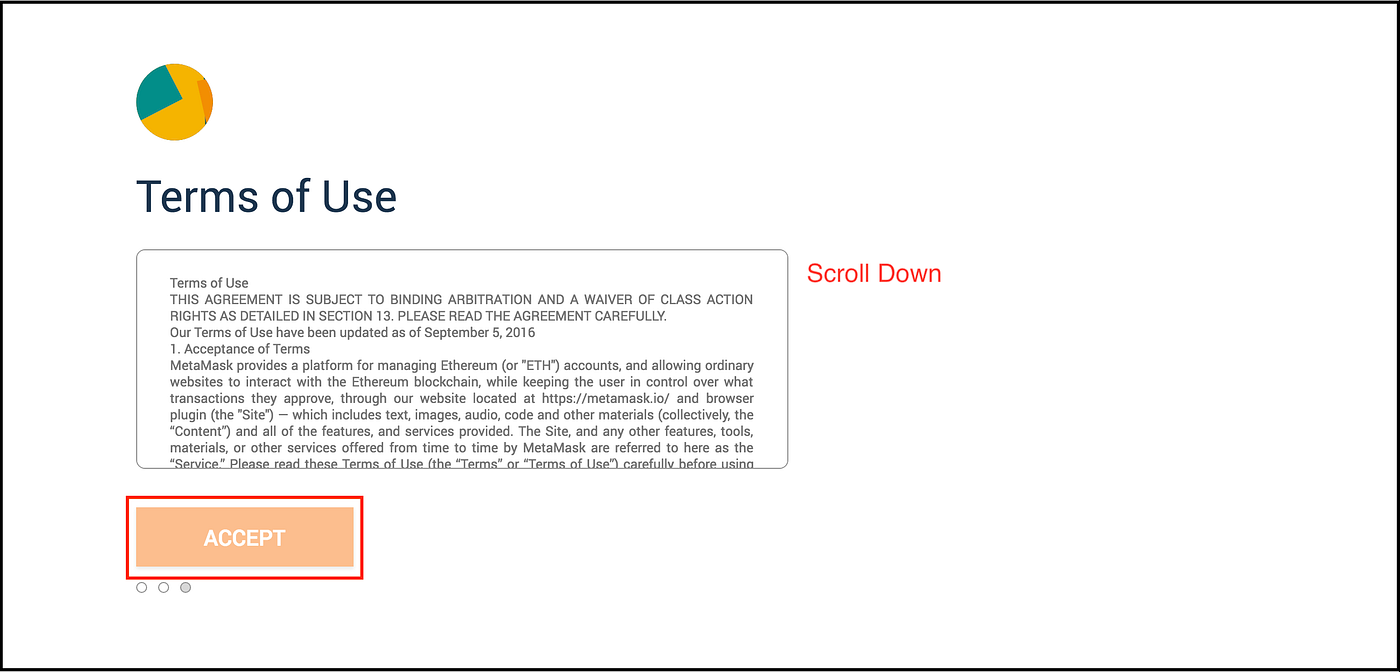
Step 3: Accept the Terms of Use, Privacy Notice, Phishing Warning
Read, scroll down the “Terms of Use” and click “Accept”.
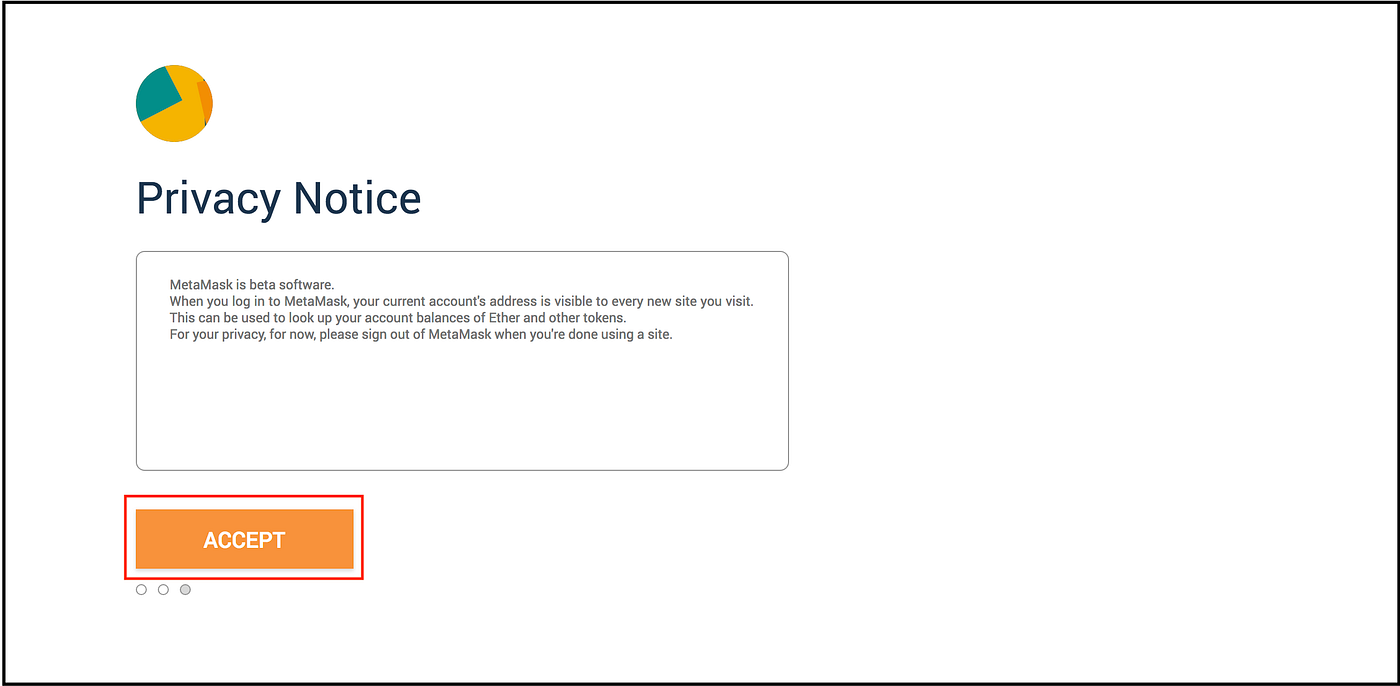
After accepting the “Terms of Use”, you will be prompted to accept their “Privacy Notice”. Read and click “Accept”.
Now, accept the “Phishing Warning”.

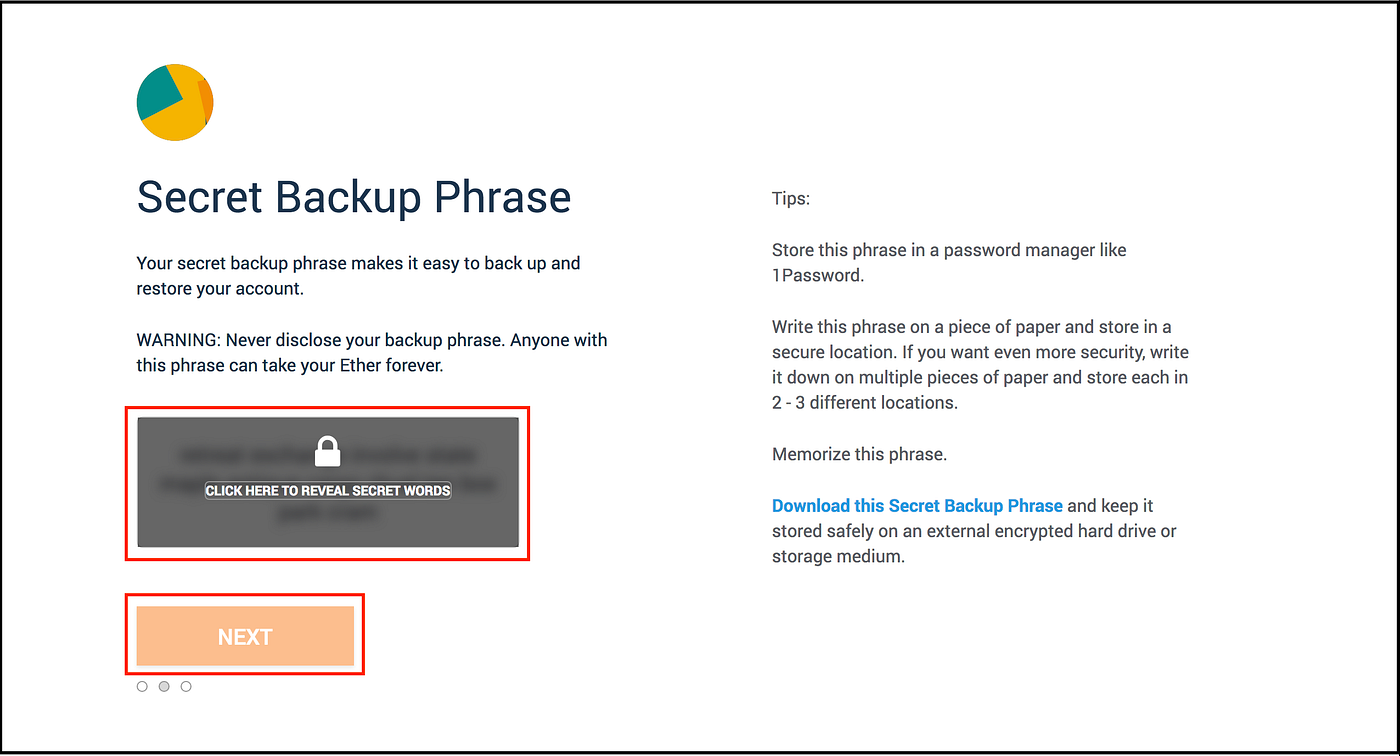
Step 4: Store and verify your backup phrase
Click to reveal your backup phrase. Copy your backup phase to an offline location and store it securely. Never disclose your phrases to anyone, or risk losing all your Ether. Click “Next” to proceed.
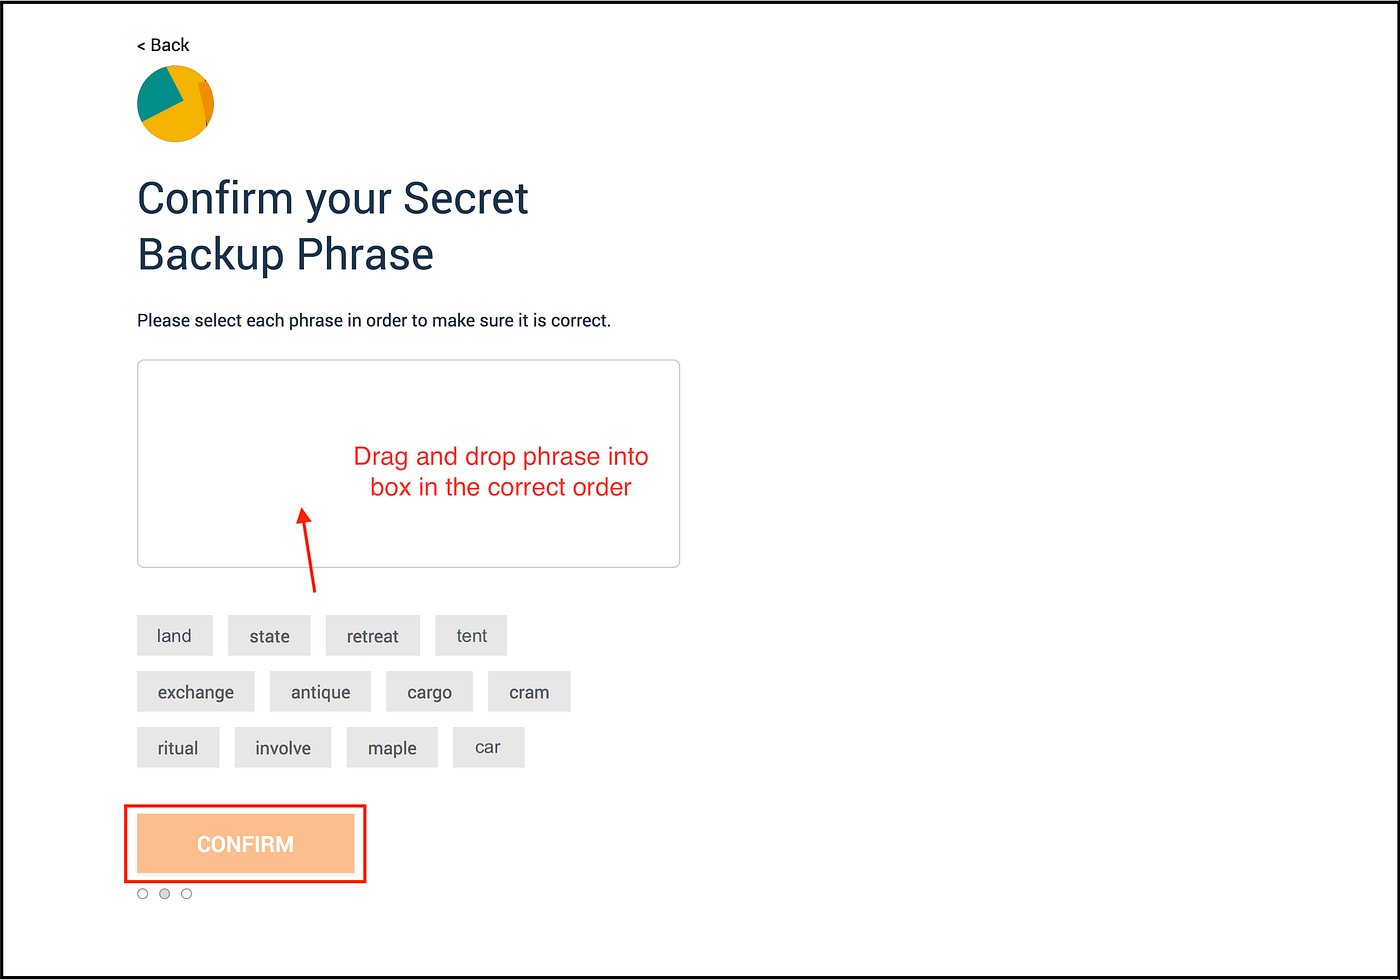
Verify your Backup Phrase by dragging and dropping them in the right order into the empty box. Click “Confirm” to proceed.
Step 5: Retrieve your wallet address
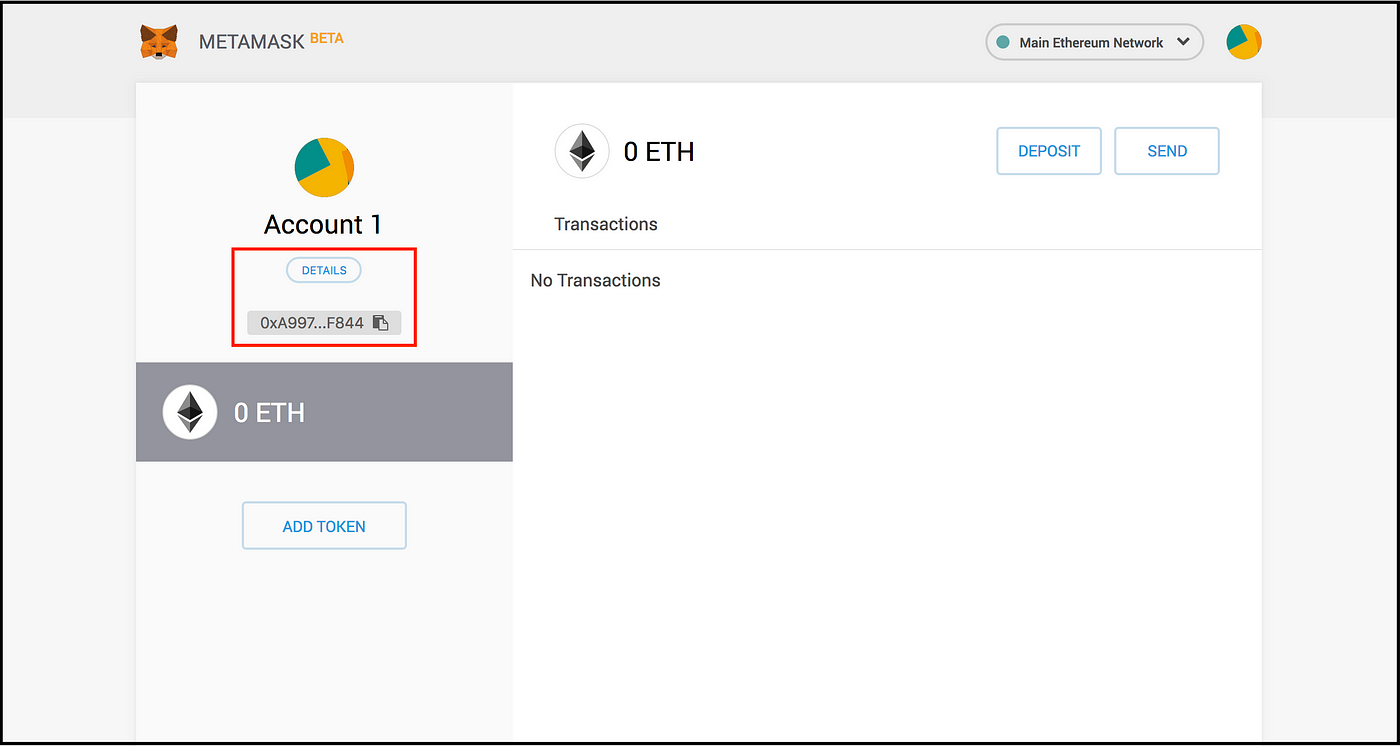
Now that you have installed MetaMask wallet, let’s see how you can locate your wallet address.
Click on the “Details” to see both the QR code and the full address. Alternatively, you can copy your address directly using the link below it.
After you click the “Details” button, you can see your wallet address information.
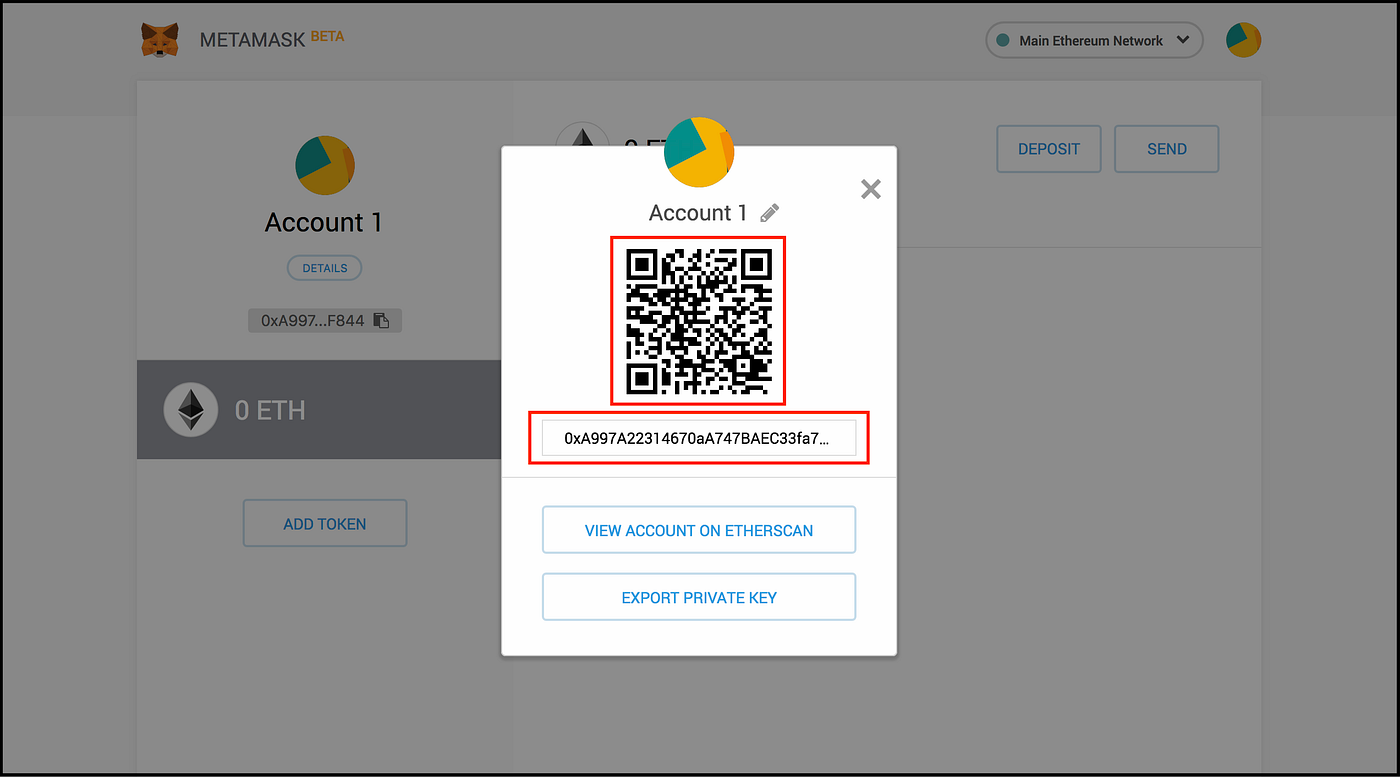
This is the wallet address you should submit to us to receive your Make Your Mark Community Access Pass NFT and surprise airdrops!